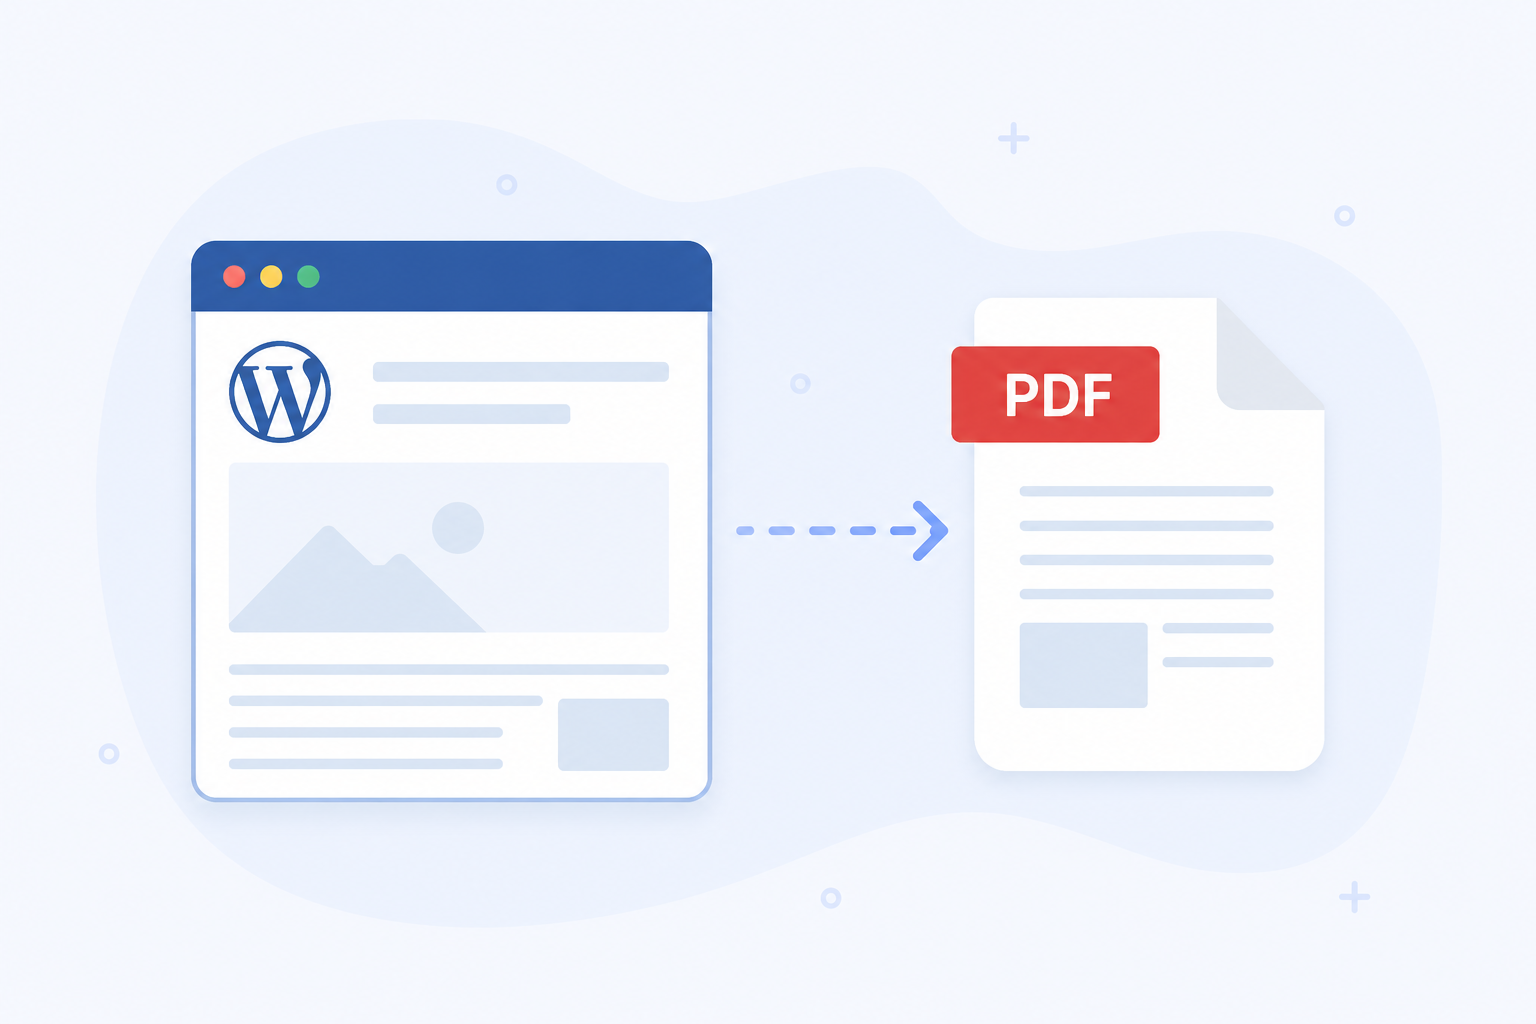
Transform your WordPress page into the PDF file
In this brief example, we will demonstrate how to convert a WordPress page into a PDF file while making customizations to display only the relevant part of the web page.
In a PDF document, site navigation, footer, and other elements are often unnecessary. Basically the focus is on the relevant content. To address this, we will utilize "print" styles to hide non-essential parts of the web page, ensuring that only the important content is retained in the PDF file.
First, install the HTML to PDF Converter WordPress plugin from this link: HTML to PDF Converter Plugin. Then, navigate to the page where you want to add the PDF conversion functionality and insert the shortcode:
[html2pdf text="Save as PDF" media="print"]Next, in the WordPress admin panel, go to "Appearance" -> "Customize", locate the "Additional CSS" link at the bottom and click on it.

Add the CSS code
As you see in the code below, by adding "print" type CSS styles first we hide everything to remove unnecessary parts of the web page.
Then we need to display the relevant part, for which we set the code block with a class .your-visible-content to be visible.
Also, you can hide "Save as PDF" link in the PDF, by hiding elements with class name .html2pdf_button.
@media print {
  /* Hide everything */
  * {
      visibility: hidden;
      margin: 0;
      padding: 0;
  }

  /* Make only your desired content visible */
  .your-visible-content * {
      visibility: visible;
  }

  /* Optionally hide the conversion link from the PDF */
  .html2pdf_button {
      visibility: hidden!important;
  }
}Conclusion
By following these steps, you can customize the PDF output to display only the necessary content when users click the "Save as PDF" link.