
Generate and Send PDF Invoice with n8n
Introduction
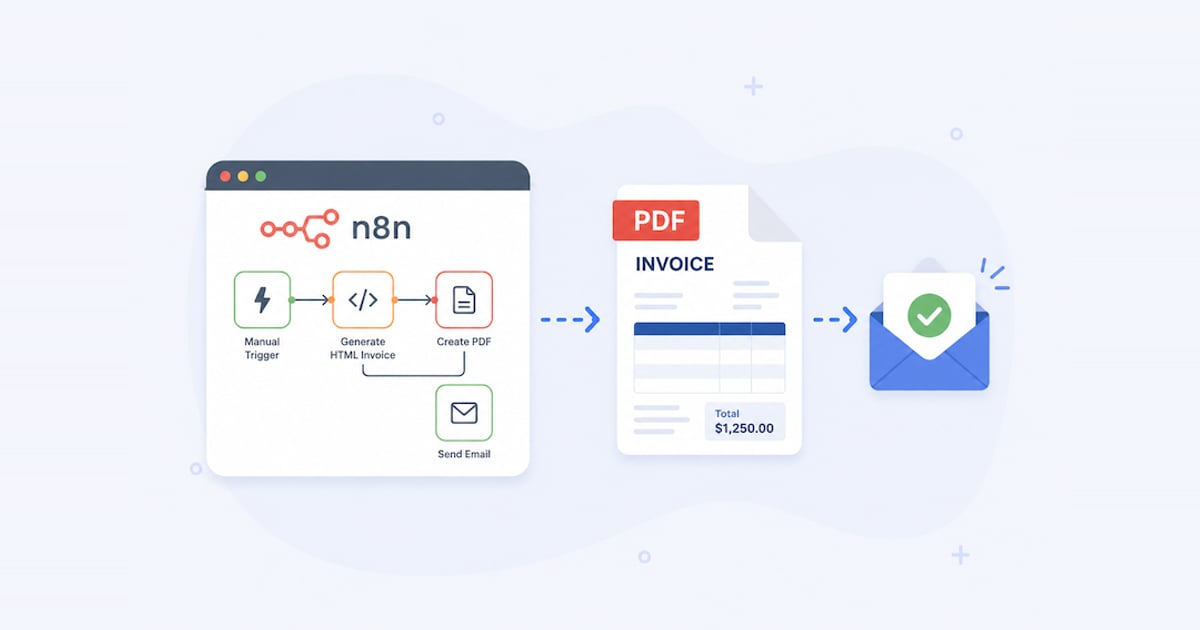
Automation platforms like n8n are becoming increasingly popular for building internal tools, AI workflows, and business automations without writing full backend applications.
In this tutorial, we will build a complete automated workflow that:
- collects invoice data from a form
- generates an HTML invoice template
- converts HTML to PDF using html2pdf.app
- sends the generated PDF invoice by email
The final workflow will look like this:
Form Trigger
   ↓
Generate HTML Template
   ↓
Convert HTML to PDF
   ↓
Send Email with PDF Attachment
At the end of this article, you will also be able to download and import the complete n8n workflow template.
What We Will Build
In this example:
- User opens a form
- User enters:
- customer name
- email address
- invoice number
- amount
- n8n generates invoice HTML dynamically
- HTML is converted to PDF using html2pdf.app API
- PDF is sent automatically by email
Step 1 — Create Form Trigger
Create a new workflow in n8n and add "Form Trigger" node.
This node creates a public form where users can submit invoice data.
Add fields:
| Field | Type |
|---|---|
| customerName | Text |
| invoiceNumber | Text |
| total | Text |
Step 2 — Generate HTML Invoice Template
Add a "code" node.
This node will dynamically generate invoice HTML.
const clientName = $json.clientName;
const clientEmail = $json.clientEmail;
const invoiceNumber = $json.invoiceNumber;
const total = $json.total;

const html = `

<!DOCTYPE html>

<html>
<head>
  <meta charset="UTF-8">
  <style>
    body {
      font-family: Arial, sans-serif;
      padding: 40px;
      color: #333;
    }

    .invoice {
      max-width: 700px;
      margin: 0 auto;
      border: 1px solid #ddd;
      padding: 30px;
    }

    h1 {
      color: #222;
    }

    .total {
      margin-top: 30px;
      font-size: 24px;
      font-weight: bold;
    }

  </style>
</head>
<body>
  <div class="invoice">
    <h1>Invoice</h1>

    <p><strong>Invoice Number:</strong> ${invoiceNumber}</p>

    <p><strong>Customer:</strong> ${clientName}</p>

    <div class="total">
      Total: €${total}
    </div>

  </div>
</body>
</html>`;

return {
json: {
html,
recipient: clientEmail,
name: clientName
}
};
For a more complete layout with line items and totals, start from our free HTML invoice template.
Step 3 — Convert HTML to PDF
Now add an "HTTP Request" node.
Configuration:
| Setting | Value |
|---|---|
| Method | POST |
| Authentication | Generic Credential Type |
| Generic Auth Type | Header Auth |
| Header Auth | Name: |
| URL | https://api.html2pdf.app/v1/generate |
| Send Body | On |
| Specify Body | Using Fields Below |
| Body Parameters | html: |
| Response Format | File |
| Put Output in Field | data |
By setting "Header Auth" click edit on "Header Auth account" and set values accordingly to the image below. You will need an html2pdf.app API key — you can register and get a free API key here:
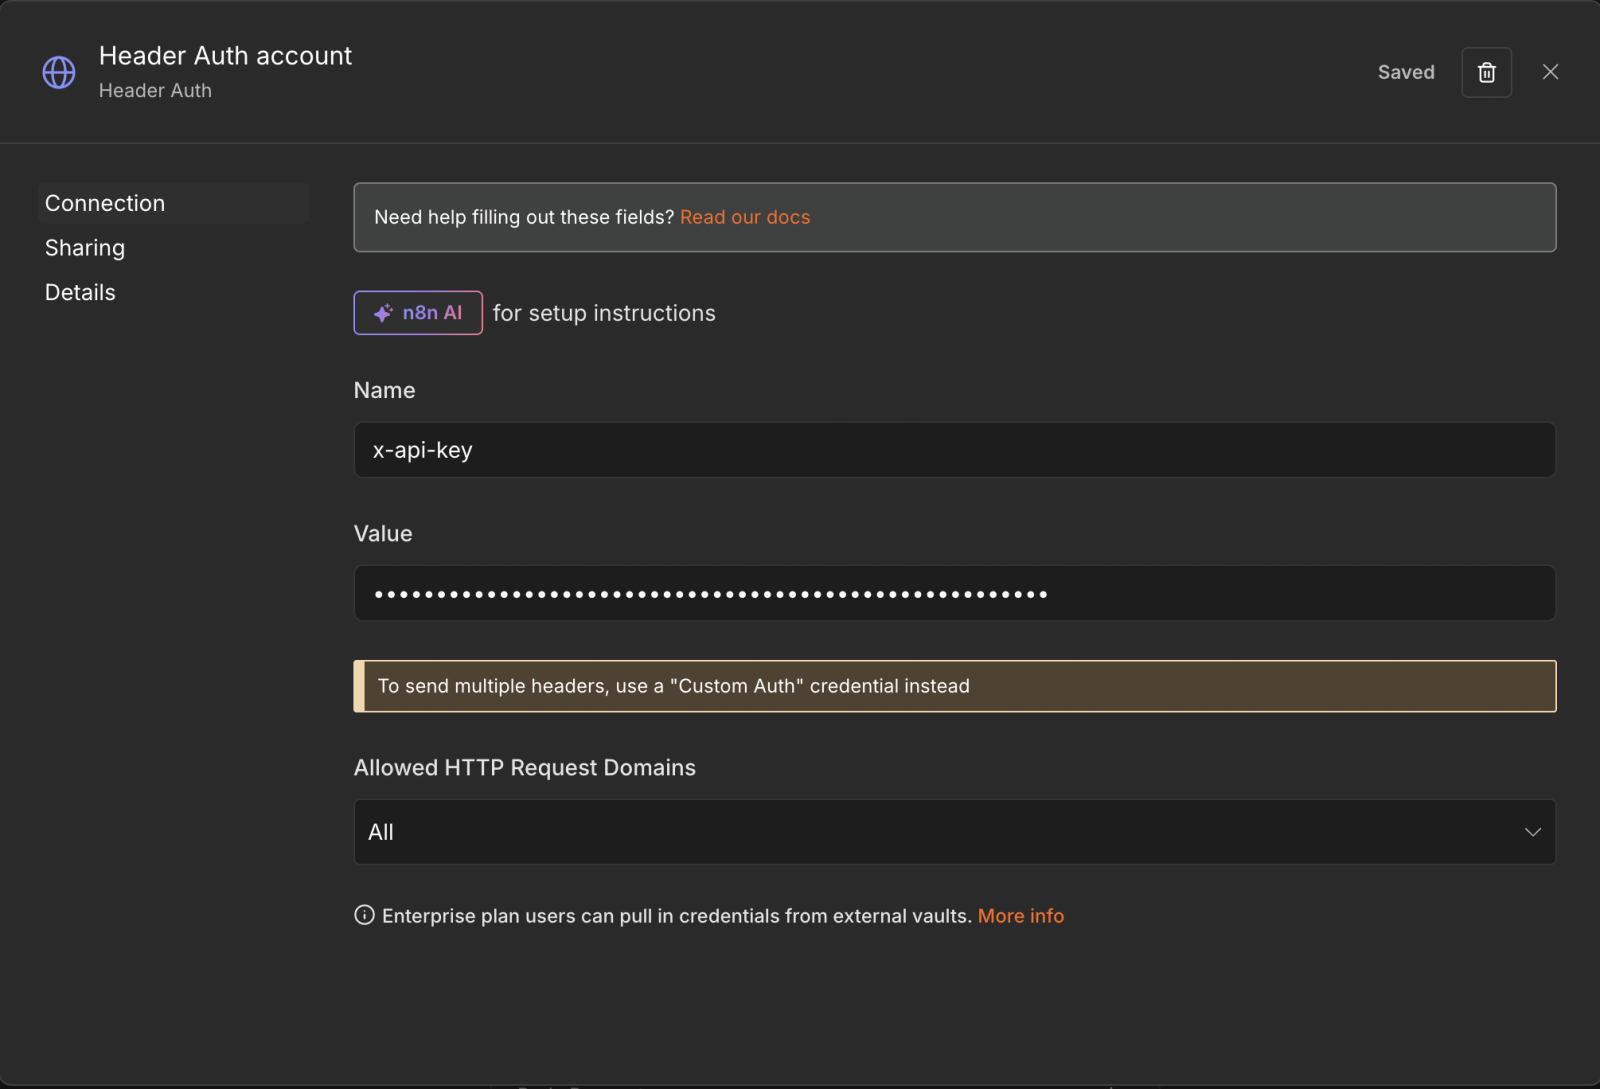
We recommend storing your html2pdf.app API key securely using the Credentials system instead of hardcoding it into the workflow.
You can add more body parameters to control the PDF, such as page format, landscape orientation, margins, and header or footer templates. See the API parameters for the full list.
Step 4 — Send PDF by Email
Add a "Send Email" node.
In this tutorial we use SMTP credentials with Mailgun.
Configuration example:
| Field | Value |
|---|---|
| From Email | enter your email address |
| To Email | {{ $json.recipient }} |
| Subject | Your Invoice |
| Email Format | HTML |
| Attachments | data |
Example of HTML email message:
Hello {{ $json.name }},

<br><br>

Please find your invoice attached.

<br><br>

Thank you.
Testing the Workflow
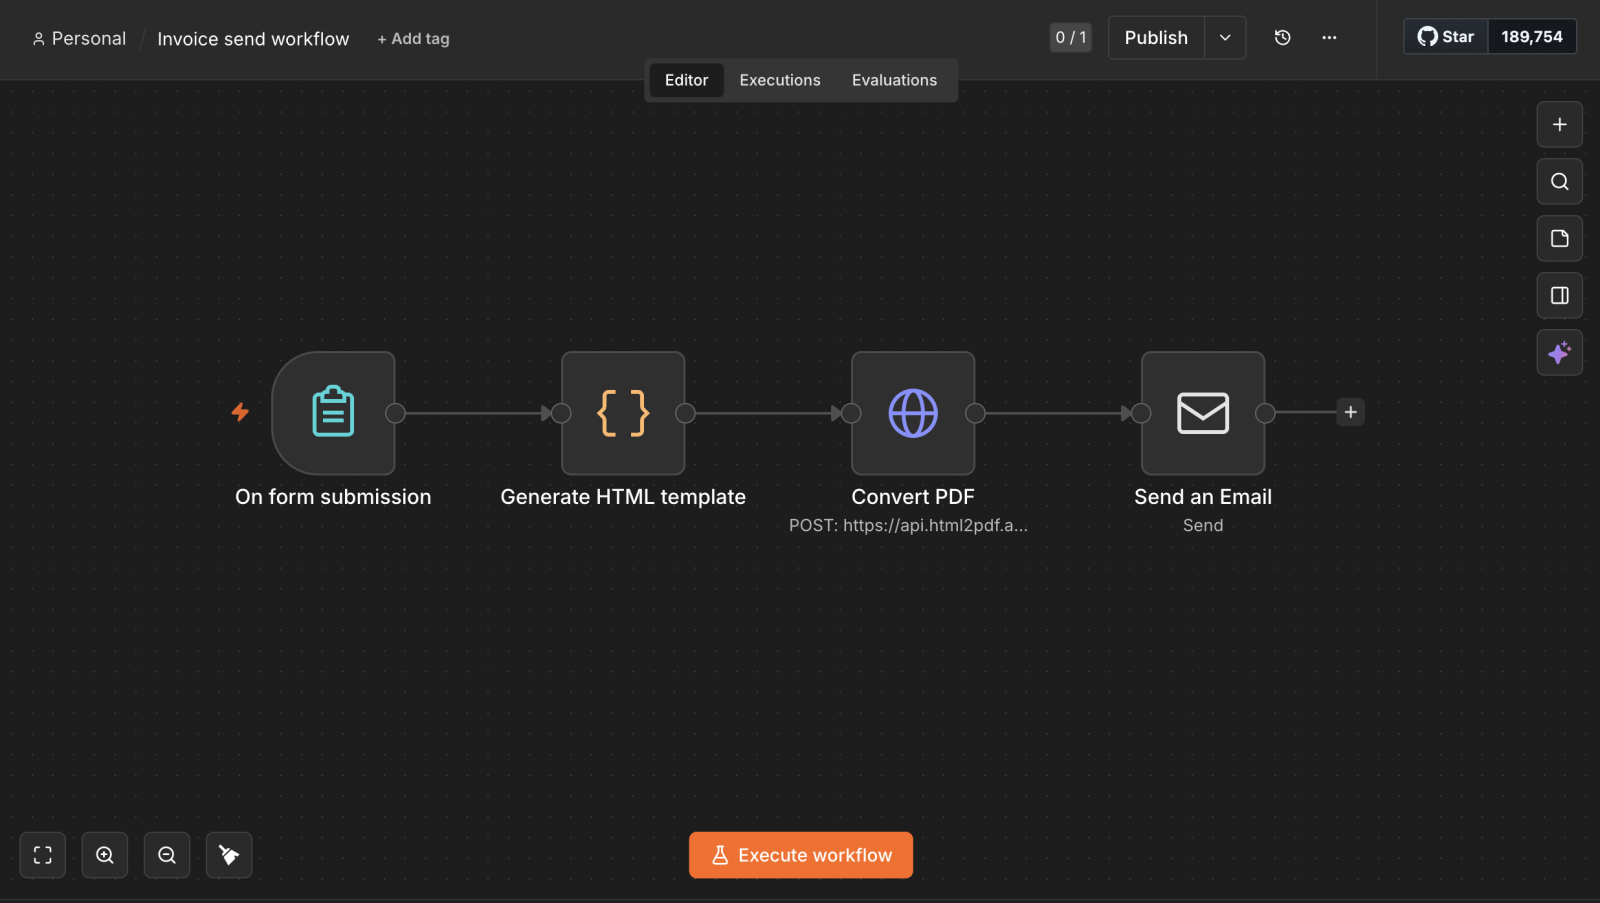
When you finish all these steps, the result of your workflow should be similar to this (nodes can have custom names for clarity):
After activating the workflow:
- Open the generated form URL
- Enter invoice details
- Submit form
- Receive PDF invoice by email automatically
Conclusion
Combining n8n with html2pdf.app allows you to build powerful document automation workflows in minutes.
Instead of manually generating invoices, reports, or PDFs, you can fully automate the entire process:
- collect data
- generate HTML
- convert to PDF
- deliver automatically
without building a custom backend service.
Workflow Template
Download the ready-to-use n8n workflow template and import it directly into your n8n instance. After importing, configure your own html2pdf.app API credentials and email provider credentials.
Download Template